Huawei nova 10 cut length diagram tutorial
Now the screenshot function on the mobile phone supports the user to take a screenshot in addition to a single shot. The screenshot can capture the pictures and content on the mobile phone to the position you want at one time, making up for the disadvantage that the screenshot cannot be completely captured at one time, which is very good. However, different brands of mobile phones have different ways to use the truncation map function. Xiaobian brings a tutorial on the use of the truncation map function to users of Huawei nova 10.
Huawei nova 10 Length Chart Tutorial
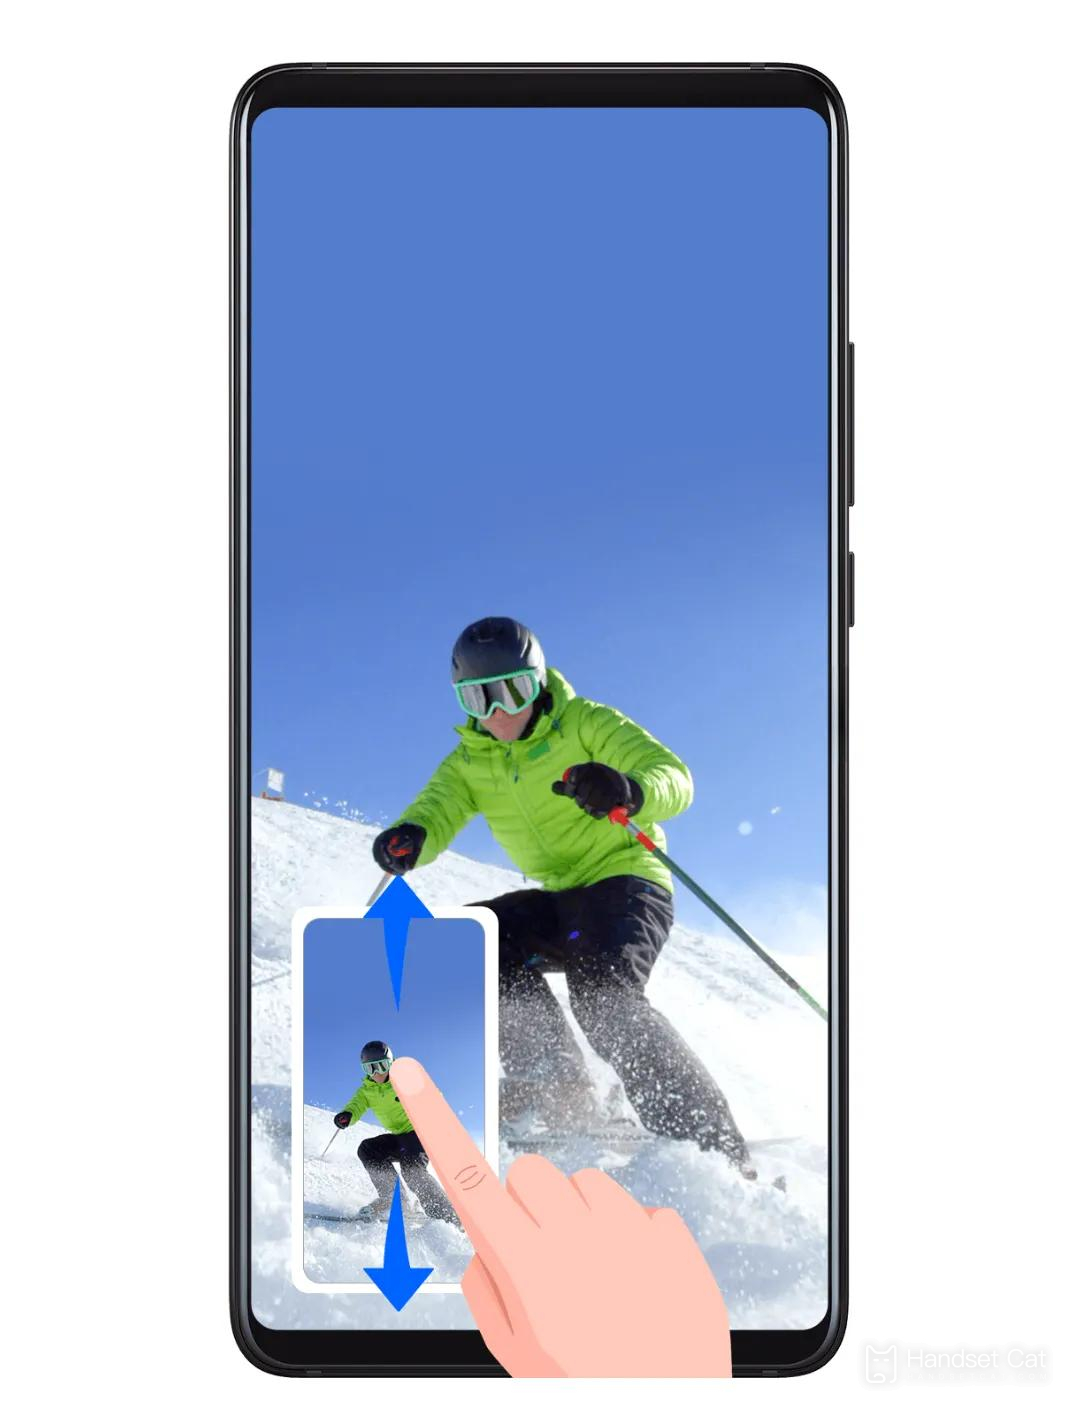
1. Long screen capture: After the basic screen capture is completed (such as using the pull-down menu screen capture button), on the screenshot thumbnail at the lower left corner, quickly slide down to take a long screen capture. Don't click wrong. Sliding up is the share button, and sliding down is the long screen capture.
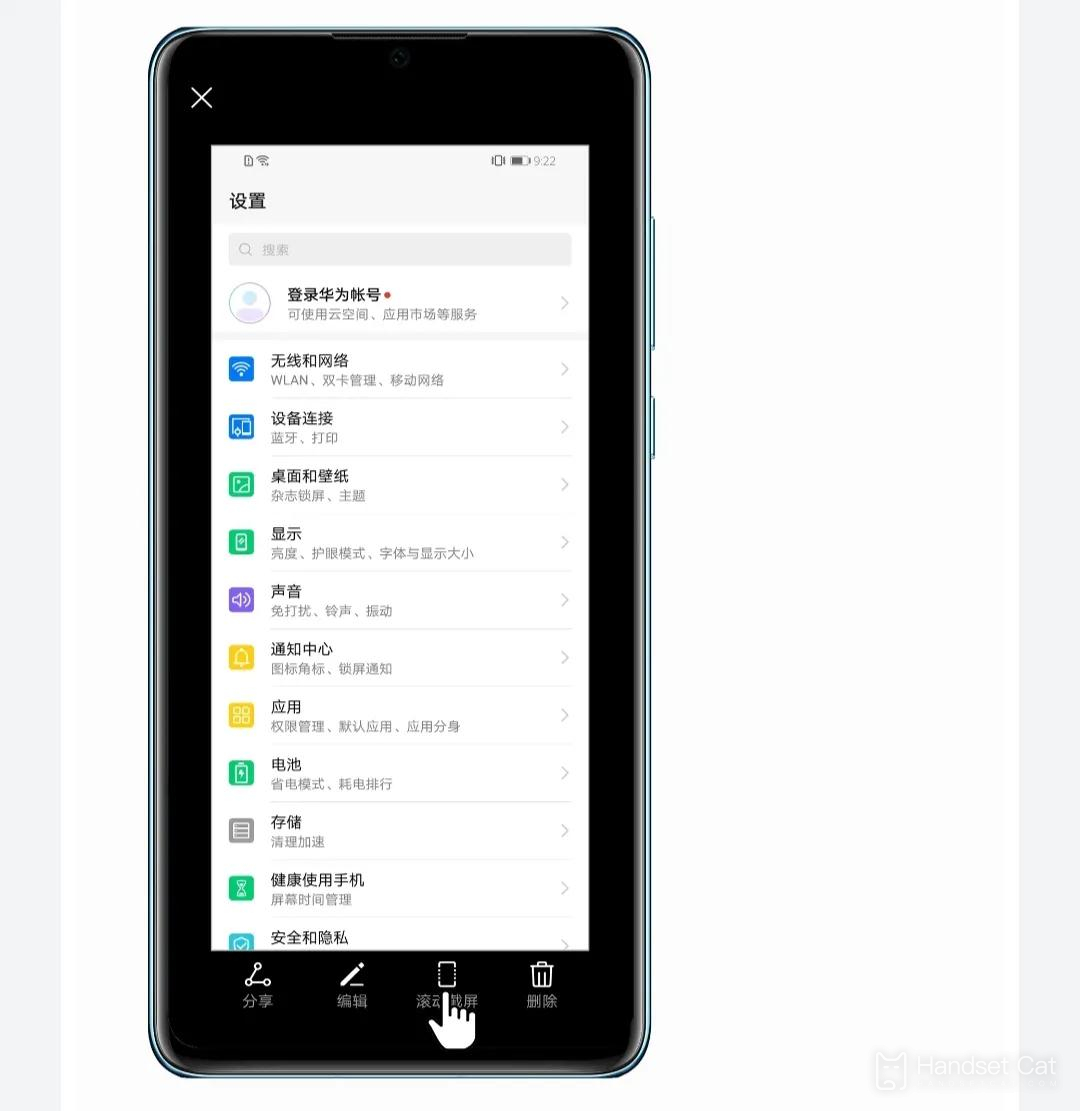
2. After the basic screen capture is completed (such as using the pull-down menu button), click the "Scroll Screen Capture" button under the screenshot thumbnail within 2s to take a long screen capture.
3. Draw "S" long screen capture with finger joint. For mobile phones with finger joint screen capture function, use finger joint to draw an "S" on the screen to scroll the screen capture.

The truncation map function of Huawei nova 10 is more used in long articles. Due to the limitations of the mobile phone screen, as well as the adaptation of the APP, too long content will be made into a drop-down mode for users to browse. Therefore, the truncation map is to save the contents that need to be pulled down to see into a picture at one time, which is very useful.