Vivo Y76s Computer Connection Tutorial
The functions of mobile phones are becoming more and more powerful, which makes many children forget that many operations can only be realized by connecting mobile phones to computers. Although mobile phones are very powerful now, operations such as brushing and transferring files still need to rely on computers, which will be more convenient to transfer files, and there will be no risk of compressing the image quality, So today, I will teach you how to connect the vivo Y76s to the computer.

vivo Y76s Computer Connection Tutorial
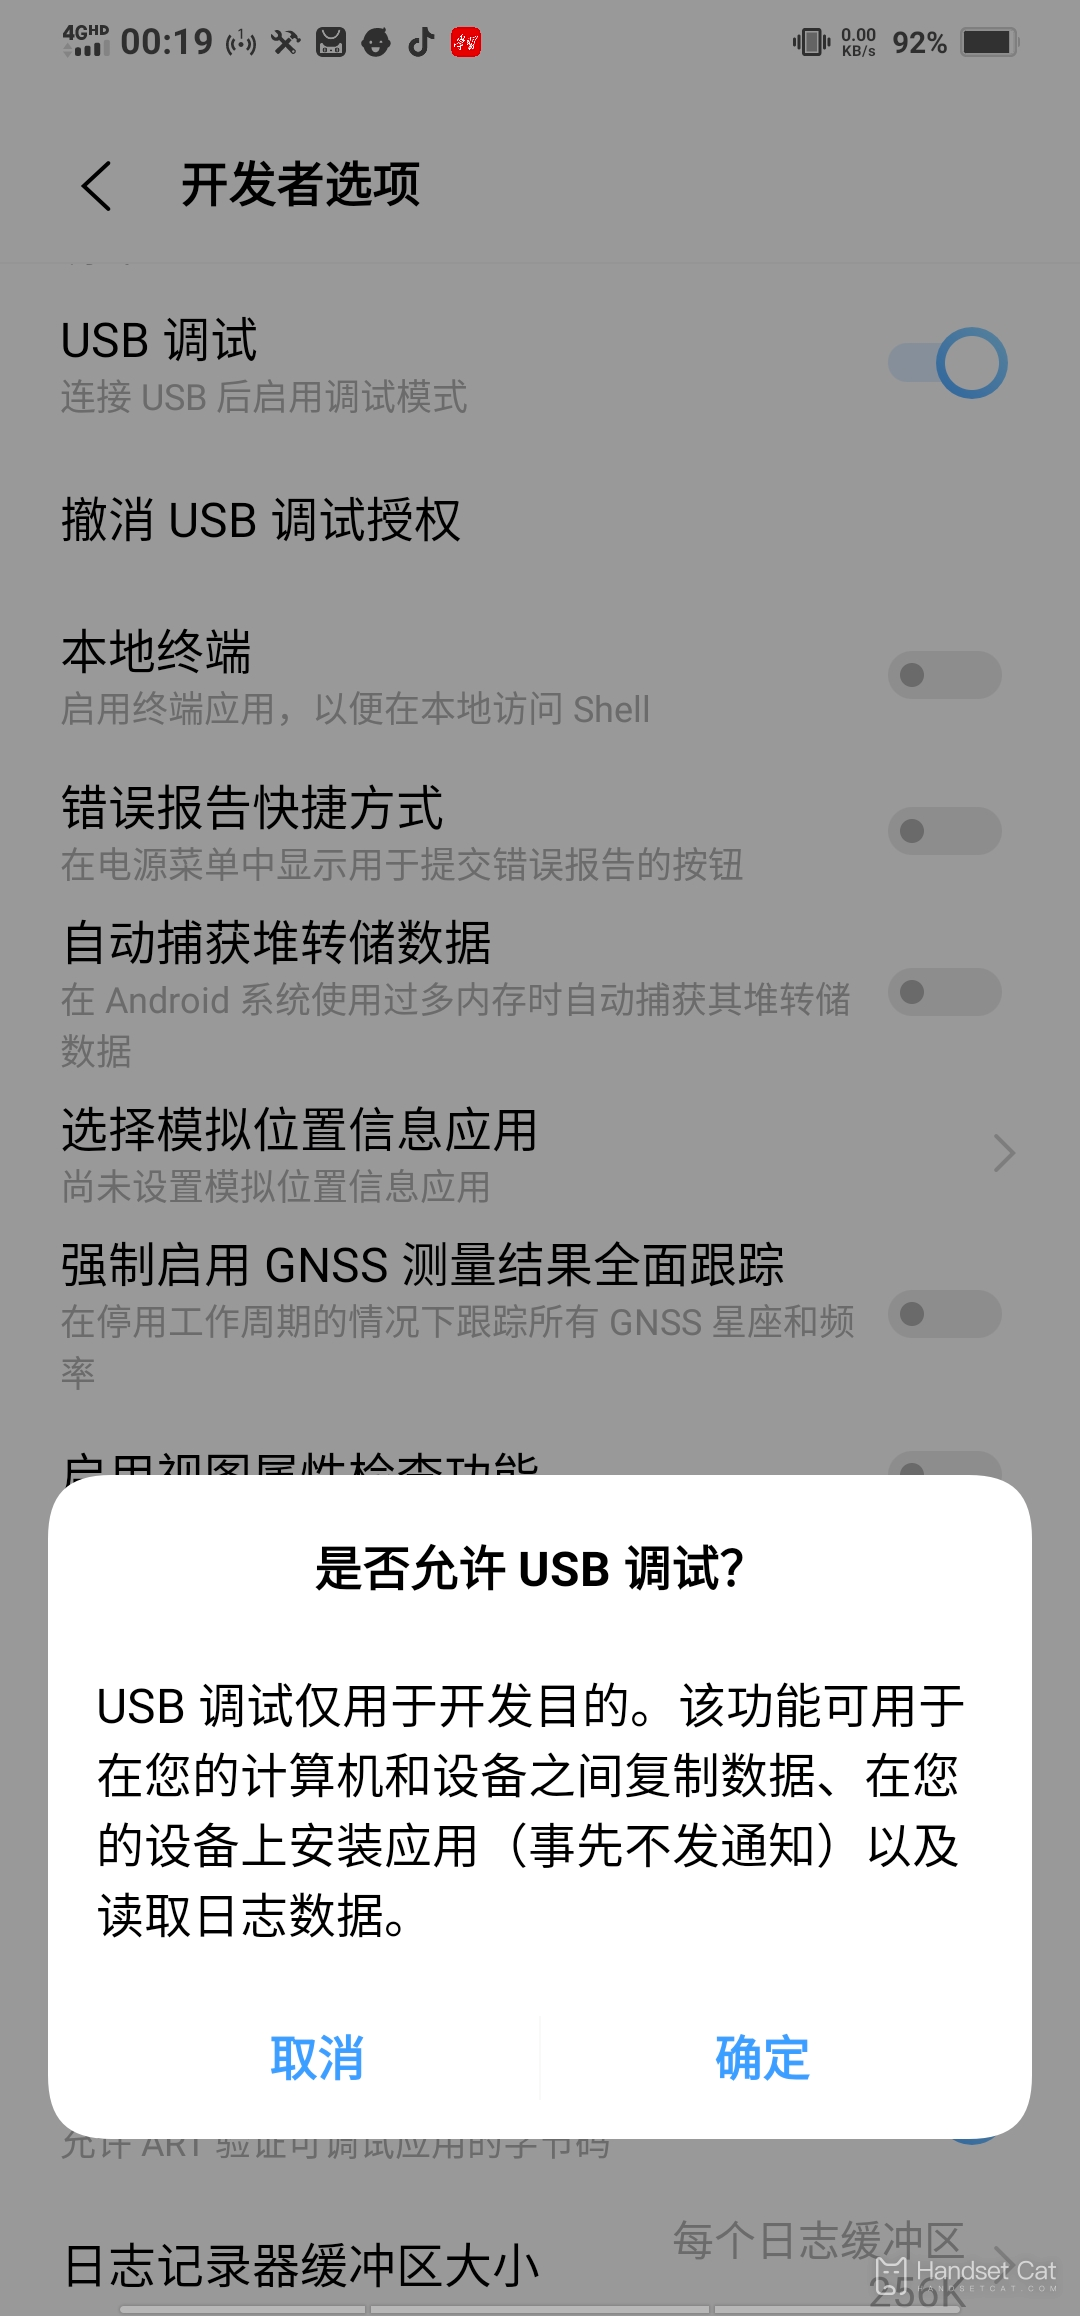
Step 1: Open the settings in the phone ------ System management ------ Developer options
Find the "USB Debugging" item in the developer option, open it, and a dialog box will pop up, as shown in the following figure. Click OK. (Here, we only copy photos and videos, and do not install applications. Therefore, it is recommended to just turn on USB for debugging, instead of turning on developer options, which brings risks.)
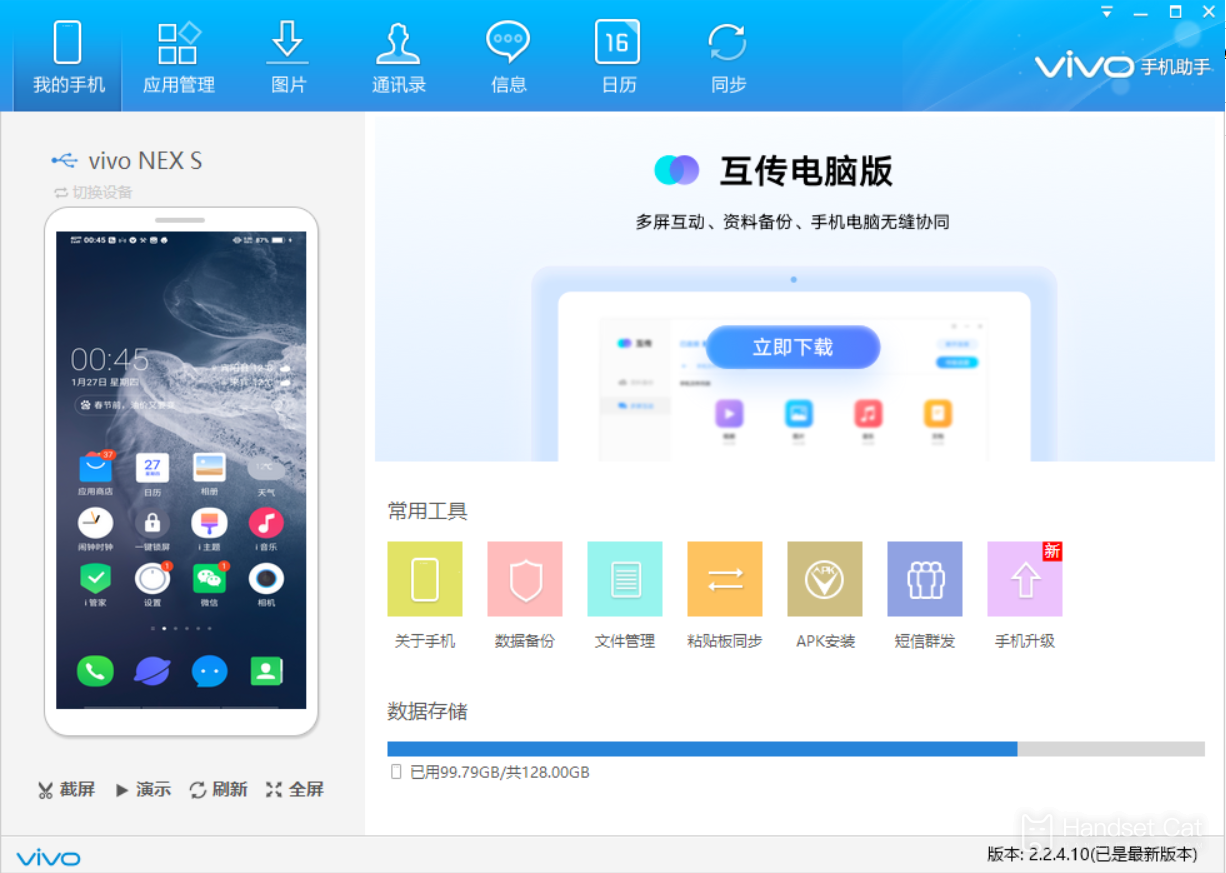
Step 2: Open and run Vivo Mobile Assistant in the computer, connect the mobile phone with the data cable, and then click Connect in Mobile Assistant. Finally, the interface is shown as follows:
The above is how Vivo Y76s connects to the computer. It may be a little troublesome to operate. It is recommended that you read the following first, and then click on the operation following the tutorial. After the connection is successful, you can transfer files and other operations. Users who need to try.