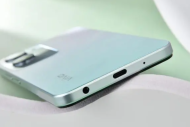
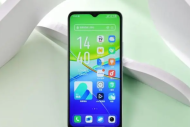
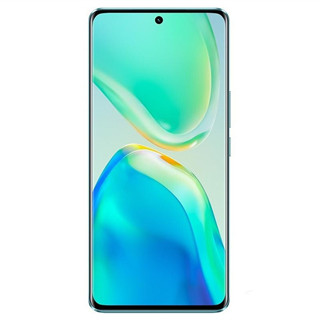
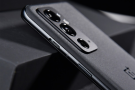
Vivos16e Connecting to a computer tutorial
Connecting to a computer is a standard feature in smart phones at present. It is mainly used to connect with computer devices to facilitate data transmission and application management. Vivos 16e, as a brand new folding screen mobile phone, naturally has its own. This compilation will bring you the relevant tutorials of Vivos 16e connecting to a computer. Let's have a look.
vivos16e Computer Connection Tutorial
1. Connect the data cable of the mobile phone to the computer.
2. After the data cable is connected to the computer, the notification bar on the top of the phone will request to change the status. Pull down the notification bar and click [USB charging only].
3. In the page that pops up after clicking [USB charging only], click and select [USB function].
4. After selecting the USB flash disk function, click the [Computer] icon in the computer.
5. Click to enter, find the USB flash disk used by the mobile device, and click.
6. Open the place where you need to transfer files. Take the photos in the camera as an example, find the [Camera] folder and click.
7. Click the photo you want to transfer.
8. After selection, right click to find and click the Copy option.
9. Return to the location where you want to store the files transferred from your mobile phone. If you want to store them on disk H, click [File (H:)].
10. After entering the file, right-click and click Paste.
The above is the specific content about where to connect the Vivos16e to the computer. The above three methods have their own convenience and are very simple. They are also relatively stable and can not be dropped. Users can choose according to their actual situation.