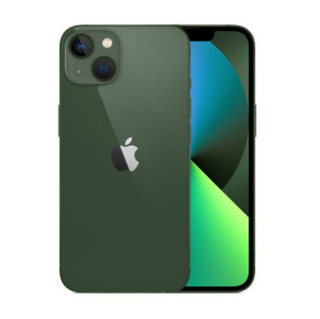
How to disassemble Apple 13
The new phone recently announced by Apple is a powerful and easy-to-use smartphone that uses advanced technology and meticulous craftsmanship, with excellent performance and rich features, perfectly adapting to the needs of different users. Whether in daily life or in business and office settings, users can easily use it. Although it is easy to use, you may also encounter the trouble of how to disassemble the Apple 13. I hope you can carefully read the main text to solve this small problem.

The first step is to be careful when disassembling the machine. You can purchase dismantling tools online, including star shaped screwdrivers, insulated crowbars, suction cups, and dismantling cards. These simple small tools are perfect for disassembling an Apple phone, so keep reading.
Step 2: After removing the two screws at the bottom of the phone, use a suction cup to gently open a gap in the bottom right corner of the screen above the speaker, enough to remove the card or pry bar and extend it a little. Then, along the right side (the side of the power button), gently pry open the gap between the right screen and the middle frame until there is a 2mm gap on the entire right side. Finally, you can easily flip the screen from right to left with your hand, achieving separation between the screen and the phone's frame. The key to this step is to open a small gap before opening the screen. It should be noted that the two flat cables on the screen are on the left side of the phone (the side where the card is inserted), and it is important not to tilt or open the left side of the screen, as it can easily damage the left screen flat cables.
The third step is to have a brief understanding of the internal structure of an Apple phone, and to roughly understand the location of the parts you need to replace. You can refer to the introduction of the third step in the figure above.
The fourth step is to be careful and use a screwdriver to remove the screws on the shielding cover, easily removing the shielding cover above each cable interface.
Step 5: After removing the shielding covers at various positions, you can clearly see the cables connecting each accessory to the motherboard. At this point, the first thing to do is to power off the phone to prevent danger such as short circuits. First, use an insulated pry bar and gently pry open the battery cable interface in the red box in the above picture to achieve power off between the motherboard and the battery. Be careful not to touch the motherboard with the support point when warping. Secondly, remove the connection between the two cable connectors on the screen and the motherboard, making it easy to remove the screen. That's all for the steps you want to change the screen at this time. After changing to a new screen, just reinstall it
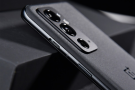
Step 6: Remove the front camera and rear camera cable connectors to separate the camera from the motherboard. When the cable connector is tilted, it must be slightly tilted from the middle of the cable to avoid damaging the motherboard and camera cable connectors. If you are really unsure, use your nails to slightly buckle the cable connector. Be sure to buckle it slightly from the middle. After a little bit of tightening, you need to change the position and not directly buckle it down from one position.
Step 7, this is also the final step. You can remove all the cable connectors on the motherboard and remove it. Wrap the tape at the bottom of the battery with a stick and gently pull out the white tape at the bottom of the battery. After removing the tape, you can easily replace the battery. The charging interface, speaker, transmitter, etc. at the bottom of the battery can also be easily removed.
The introduction of how to disassemble Apple 13 above is almost complete. I hope this answer is helpful to you. If there are any other questions related to Apple phones, you can also browse the mobile cat more, which may have the answers and content you need.